Do you have a foam board installation job coming up? Here are 5 simple things you can do to put the pedal to the metal when installing foam board on your next project.
Read on to learn more!
1. Use the Correct Adhesive
For starters, you should always use the right adhesive for the job. Doing so will make the installation process smoother, as the foam boards will quickly develop a stronger bond to the surface.
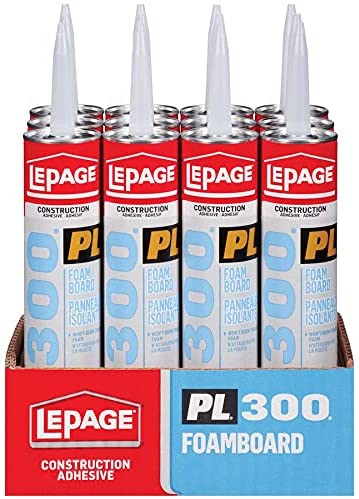
The ideal adhesive for most types of foam board insulation is PL 300. It’s foam board adhesive that may be used with a whole host of different surfaces, including:
- Lumber
- Gypsum wall board
- Concrete
- Brick
- Other masonry
PL300 is suitable for both exterior and interior applications. What’s more, it’s low on VOCs, meaning that it won’t off-gas and pollute the interior air after installation.
2. Opt for Screws With Larger Washers
If you want an easy trick to speed up foam board installation, look no further than the screws and washers you’ll use to fasten the foam.
The larger the washers, the faster you’ll move; ½-inch washers are your bare minimum, but you could benefit from going for even larger diameters in cold weather, such as 1 or 2 inches.
3. Don’t Over-screw When Fastening
Another thing to remember — don’t waste time over-screwing while you’re fastening foam board insulation. There’s simply no need for this!
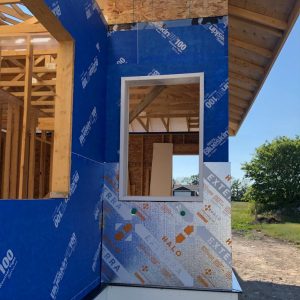
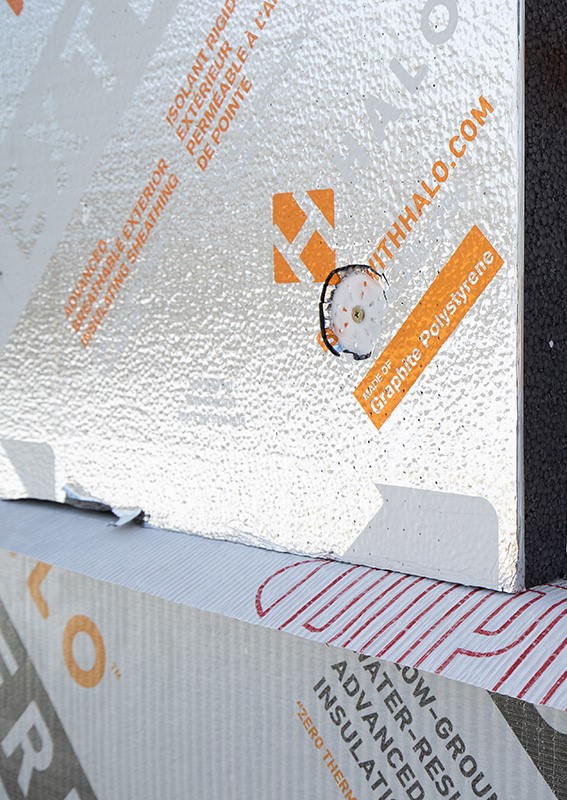
For instance, Halo’s Exterra — the exterior foam board solution from Halo — isn’t structural, and thus doesn’t need to be screwed on tightly. In fact, all you have to do is tack it in place so that the wind does not disturb it until you cover it up with other components of the wall assembly.
Recommended fastening patterns for Halo Exterra are found in it’s Installation Manual, which you can download from this webpage.
Most other foam board insulation products also aren’t structural, so you can expect them to behave in the same manner, i.e. stay in place with light fastening.
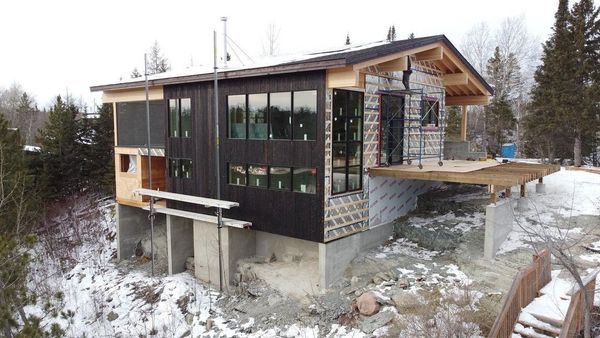
4. Avoid Installing in Cold Weather
This is really a no-brainer, but we’ll bring it up anyway — avoid performing your installation on a particularly chilly day. That’s because everything takes longer in cold weather.
Now, if there are no warm days on the horizon and you absolutely can’t wait any longer, there are a few things you can do to optimize installation in frigid working conditions. You can try these tricks:
- Use 2-inch washers — These will provide sufficient bearing surface so as not to damage the foam board
- Avoid using adhesive in extreme cold — PL300 has a recommended minimum application temperature of 15°C, so if you use the glue in lower temps, it simply may not bond.
- Go for the right tape — Red and blue tuck tape is best, as it’s rated to -18°C.
- Use a water-resistive barrier (WRB) instead of tape — If you absolutely must install foam board when it’s less than -18°C outdoors, forget the tape. Even though a product like Halo’s Exterra is a code-compliant weather-resistive barrier when taped, you can simply apply a separate WRB to meet the code instead of taping.
With the tips above, you should be able to perform quality work even if you’re braving subzero temperatures to hang foam board.

Don't miss a thing!
Subscribe for exclusive content, insider industry news and limited edition webcasts.
5. Use a Quality Foam Board Insulation Product
Perhaps most importantly, you should use a foam board insulation product that’s especially designed to meet your application and make installation simple by eliminating various construction steps.
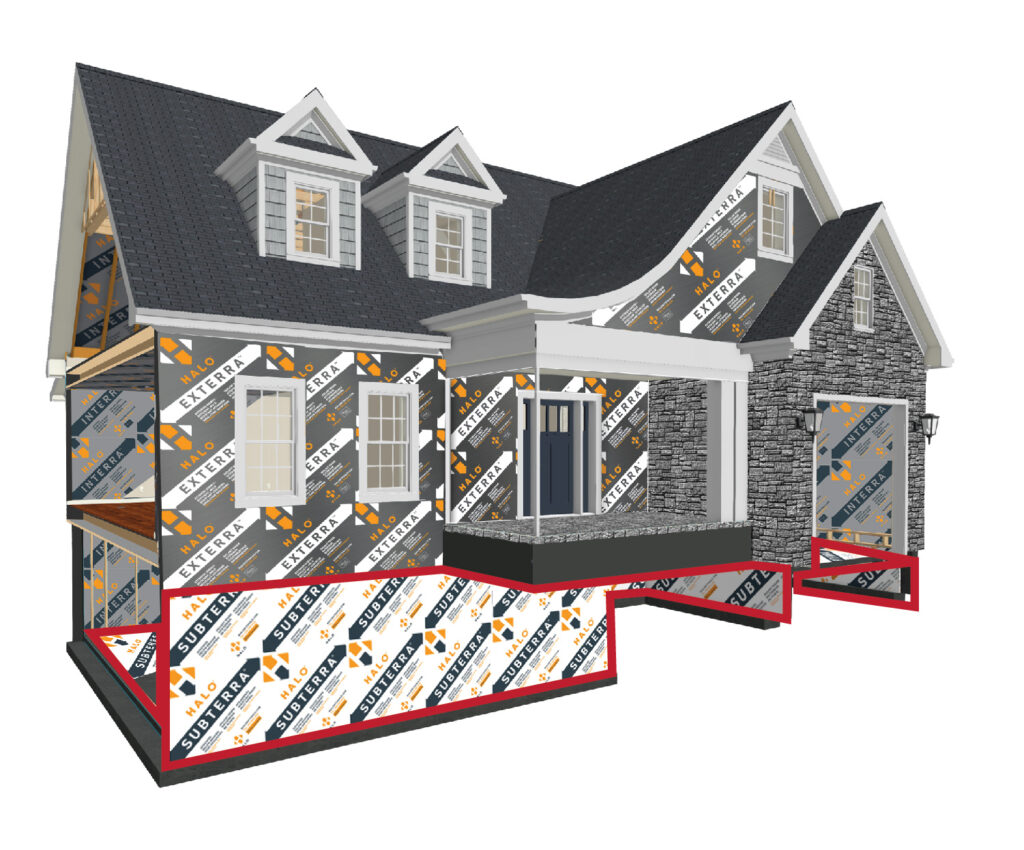
Here are some examples from Halo’s range of insulation products:
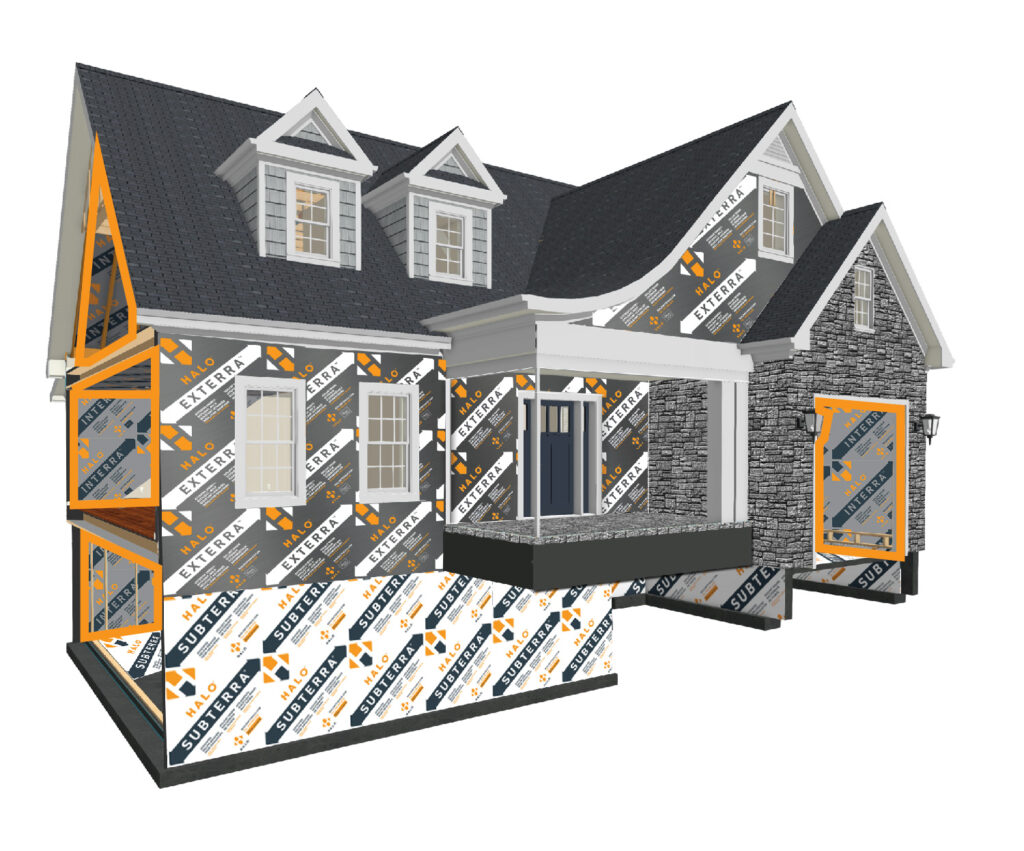
Interra — No Need for Poly or Thermal Barrier
As its name suggests, Halo’s Interra is designed specifically for a building’s interior. But unlike your regular rigid insulation product, Interra helps you eliminate 2 important steps from your construction schedule.
For one, Interra is a compliant vapor barrier — when taped. This means that if you tape the boards at their edges, you will not need to install a separate vapor barrier.
What’s more, Interra is a compliant thermal barrier in the US, so you don’t need separate thermal or ignition barriers when using the product on the interior of a wall assembly.
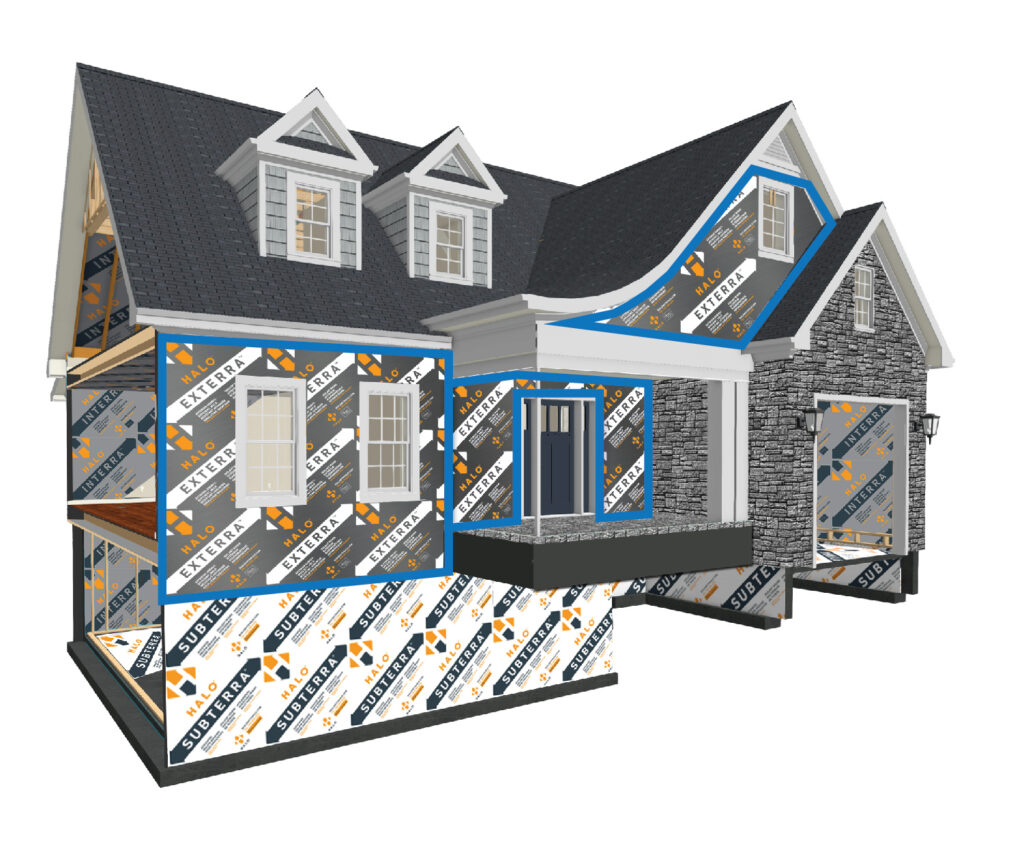
Exterra — Serves as Water-Resistive Barrier
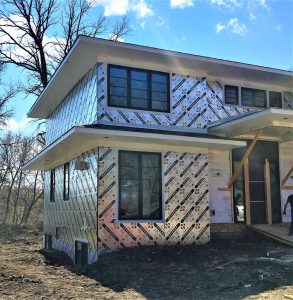
Exterra is Halo’s exterior foam board. As such, it was made with an integral water-resistive barrier that’s fully code compliant. Thanks to this feature, you can use Exterra — when fully taped — without any additional house wrap.
And since Exterra is breathable, you can rest assured that the wall assembly will always dry to the outside.
Subterra — Comes With an Integral Radon Barrier
Halo’s Subterra plus, which is designed with below-grade applications in mind, is 7 times more effective as a Radon barrier than the commonly used 6-mil polyethylene membrane.
Subterra is also incredibly durable, made to withstand all sorts of jobsite abuse.
Wrapping It Up
Installing foam board insulation shouldn’t be a difficult task that slows you and your crew down. In the post above, we gave you some simple, yet highly useful tips for getting through this scope of work faster. To recap, always remember to:
- Use the right adhesive
- Choose large washers
- Don’t over-screw
- Avoid installing in cold weather
- Opt for an insulation product that eliminates construction steps

