Foam board insulation is an essential component in any wall assembly — it boosts R-values, helps manage moisture build up in the wall cavity and eliminates thermal bridging.
But how thick should your layer of rigid insulation be?
The answer hinges on nine general factors that determine the required thickness of foam board insulation on any given project. The article below will walk you through these factors and help you decide how thick your insulation needs to be.
1. What’s the Minimum Code Requirement?
At the very least, the insulation type and thickness you choose has to meet the requirements of the local energy code. This is your absolute minimum requirement.
Energy Code standards for insulation R-values vary between climate zones. Local codes in cold climates typically demand higher R-values, whereas those in milder regions allow lower thermal resistance. The higher the stipulated R-value, the thicker the foam board will need to be, and vice versa.
So, if you’re embarking on a project and not sure what the optimal foam board insulation thickness needs to be, use the local energy code as your first benchmark. Your insulation product has to at least meet this code standard.
Note: Halo’s R-value calculator offers a handy way to calculate the effective R-value of your wall assembly and to establish whether the assembly meets prevailing national code standards.
2. Will You Go Beyond the Energy Code?
Simply meeting the energy code is often not enough.
As the cost of energy skyrockets and homeowners increasingly look for energy-efficient homes, builders have to keep up with the demand to stay relevant in the tight market. Going beyond the energy code is an effective way of giving your product an edge over the competition.
To exceed the local energy code, you’ll have to boost the homes’ overall R-values (among other things). Increasing R-values translates into beefing up the thickness of the insulation. How much thicker you’ll need to go beyond the code minimum depends on what energy standard you build to.
For example, here are a few common building standards and their approximate R-value requirements for exterior walls:
- Energy Star — Typically involves an additional R-5/R-6 in insulative sheathing (an extra 1 inch of a continuous insulation product, like Exterra)
- Net Zero Energy Ready — Can be up to R-40 overall. This can be achieved by adding several inches or layers of a foam board product like Halo Exterra, which has an R-value of R-5 per nominal inch (1.06”).
- Passive House Standard — Ranging from R-20 in the warmest climates to R-80 in the coldest climate zones of North America. The latter could translate into 6-12-inch rigid insulation layers.
Once you know which of the above standards your project will adhere to, you will know the overall R-values that must be met.
3. Which Insulating Components Will You Use?
Rigid insulation comes in many forms and R-values, and it’s not the only insulative material your home’s walls will have. When you consider the required thickness of the foam board, you’ll have to account for the following factors:
- Rigid insulation type: Different types of foam board insulation have different levels of thermal resistance for inch of thickness. For example, Graphite Polystyrene (GPS) such as Halo, have an R-value of R-5 per nominal inch.
In contrast, Polyiso offers R-6 per nominal inch — a value that declines significantly over time. So, before you calculate the required insulation thickness, you’ll need to establish which type of rigid insulation you’ll use on your project.
- Other insulation components: You will need batt insulation in the stud bays of the walls, and between the roof rafters. R-values differ between different types and thicknesses of batt insulation. The more R-value the batt provides, the less R-value (and thickness) you’ll need from your foam boards.
That said, do note that batt insulation can tend to lose its thermal resistance over time as it degrades and settles and does not address thermal bridging, so investing in a quality foam board product is always a good idea.
4. Positioning of Wall Assembly Dew Point
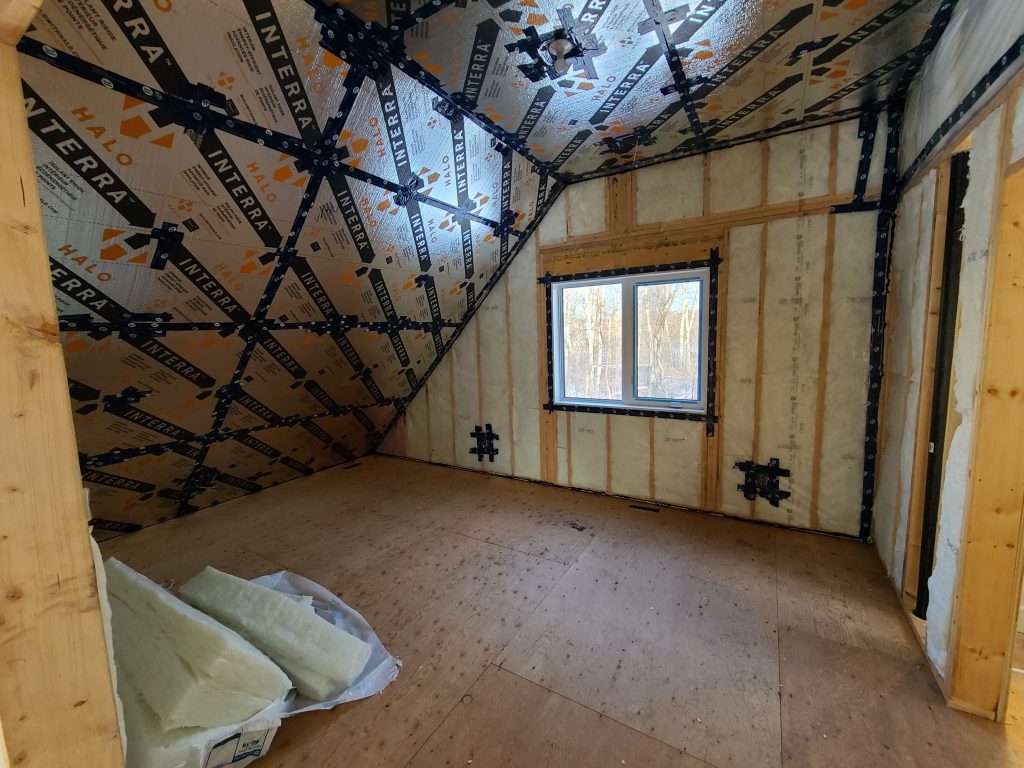
From a building science perspective, moving the dew point to the outside surface of an exterior wall is the best practice. To move the dew point to the exterior, however, you’ll have to place a thicker layer of rigid insulation on the outside face of the wall. Doing so will in turn increase the thickness requirement for your foam board.
5. Whether You Want the Walls to Dry to the Outside
Allowing a wall assembly to dry to the outside is another building science best practice. That’s because moisture can seep into the wall cavity over time regardless of the dew point position, mostly due to cracks and imperfections that develop in the caulking.
To get the moisture accumulated inside a wall assembly to escape to the exterior, you’ll need to ensure that the exterior rigid insulation boards remain permeable. For example, Halo’s Exterra remains permeable up to a thickness of 2 inches.
6. Maximum Intended Fastener Length
Thick insulation makes it difficult to find the stud when fastening the boards to the frame. However, using longer fasteners isn’t always an acceptable solution, because they are difficult to work with and generally cost more.
Fortunately, there are studies that show that ¾-inch thick plywood offers as much resistance to fasteners as wood studs do. In British Columbia, nailing insulation boards to ¾-inch plywood is generally accepted, so local crews don’t have to worry about finding studs. Be sure to check with your local building authorities to confirm that this practice is accepted where you’re building.

Don't miss a thing!
Subscribe for exclusive content, insider industry news and limited edition webcasts.
7. Detailing Considerations
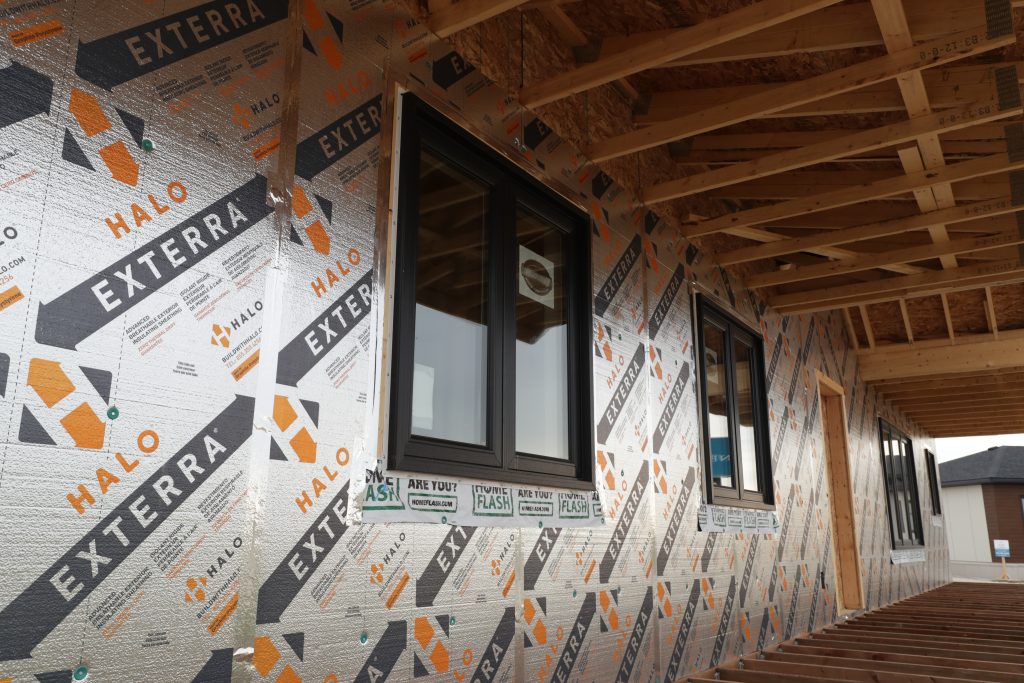
Detailing is generally applied to the front face of the sheathing when there’s no exterior insulation. However, with exterior insulation present, the details must be applied to the front face of the insulation (alternatively, positioning details behind the foam works too).
With thicker foam boards, detailing is a far more intricate task as crews must take care to prevent moisture intrusion.
8. Living Space Considerations
Using thicker insulation can reduce the net floor area of the living space. Such a reduction is particularly notable in smaller rooms, such as closets, bathrooms, and utility rooms. Reductions of room height are also possible when thick layers of rigid insulation are used in the ceiling.
9. Budget Constraints
The thicker your rigid insulation, the more you’ll pay for it. That’s because greater thickness generally translates into higher thermal resistance. So, if you have budget constraints, you may be limited to a particular insulation thickness, all other considerations notwithstanding.
Wrapping It Up
In today’s post, you’ve learned the nine key factors that determine the thickness of the foam board insulation on your project.
The key takeaway is that the required R-values, and all the factors that established these, are the primary determinant of insulation thickness. That said, wall assembly configuration, budgetary constraints, and architectural considerations (such as the net floor area) can also impact the thickness of your foam board insulation.

