Don't miss a thing!
Subscribe for exclusive content, insider industry news and limited edition webcasts.
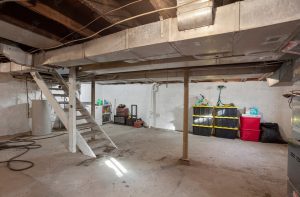
How do you insulate a basement with rigid insulation? And what are the steps for insulating basement walls with foam board?
Although not as traditional as fiberglass, cotton or cellulose insulation, rigid insulation is a much more effective alternative for basement insulation as it offers continuous insulation, no moisture absorption (read: mold growth), greater R-value per inch as well as superior effective overall thermal performance.
Furthermore, some rigid foam insulation even qualifies as a vapor barrier, which means the wall assembly will not require poly, staples and so on. It’s also lightweight and can be applied in just four simple steps, which reduces labor time.
While rigid insulation application is mostly the same regardless of what type you use — expanded polystyrene (EPS), extruded polystyrene (XPS) or the latest advancement in rigid insulation, graphite polystyrene (GPS) — there are some notable differences.
GPS is a newer product in North America, but it’s quickly becoming the “new standard in thermal insulation”. The graphite offers greater R-value than regular EPS at R-5 per nominal inch but in a thinner product. Compared to XPS, GPS is also much more breathable. And it’s less expensive.
How to Insulate A Basement with Foam Board (Rigid Insulation)
Regardless of whether you use XPS, GPS and so on, the application is mostly the same. However, using a GPS rigid foam like Halo® Interra® doesn’t require attachment via cap nails, staples, etc. It comes down to four basic steps:
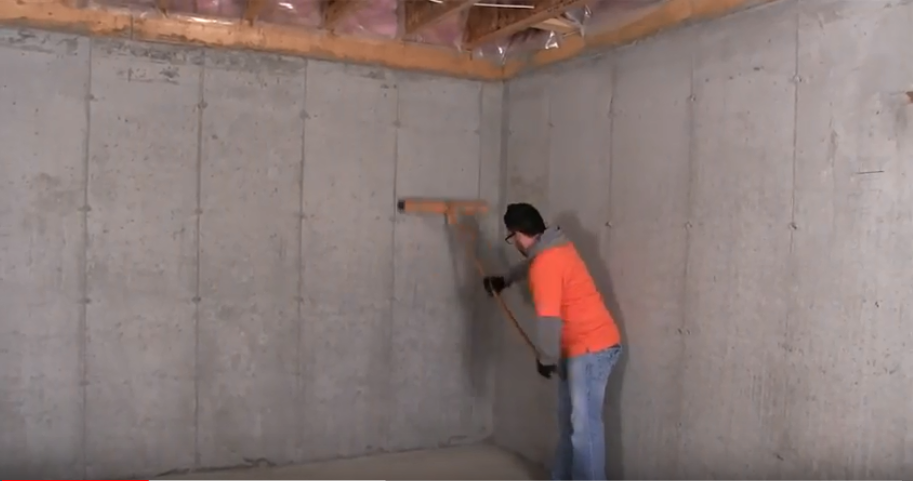
- Prep Work: Clean the Surfaces of the Wall.
Using a broom brush or a shop vac, clean the walls so they are free of any debris. A wet towel also works however you must ensure that the walls are dry before proceeding to Step 3.
The idea is to ensure that the walls are as smooth as possible so that the rigid foam adheres properly to the wall.
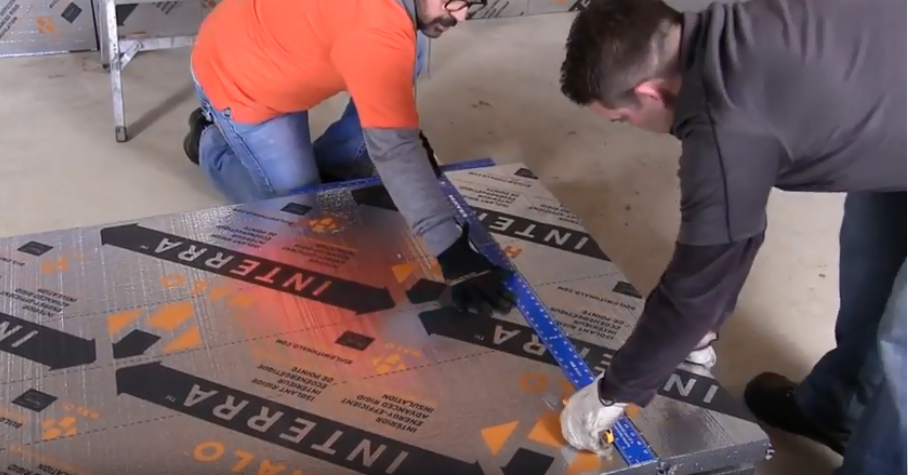
- Measure and Cut the Rigid Foam Insulation.
Next, measure and cut the rigid foam insulation to ensure that they are the correct size. You can do this with either a utility knife or a fine-tuned hand saw.
- Liberally Apply Adhesive.
Next, liberally apply an adhesive as suggested by the manufacturer. Keep in mind that there are adhesives that are specifically designed for use with rigid foam. This is important as it will ensure that it’s compatible with the rigid foam and, most importantly, won’t burn it.
When applying the adhesive, apply it to the corners and along the edges of the rigid foam.
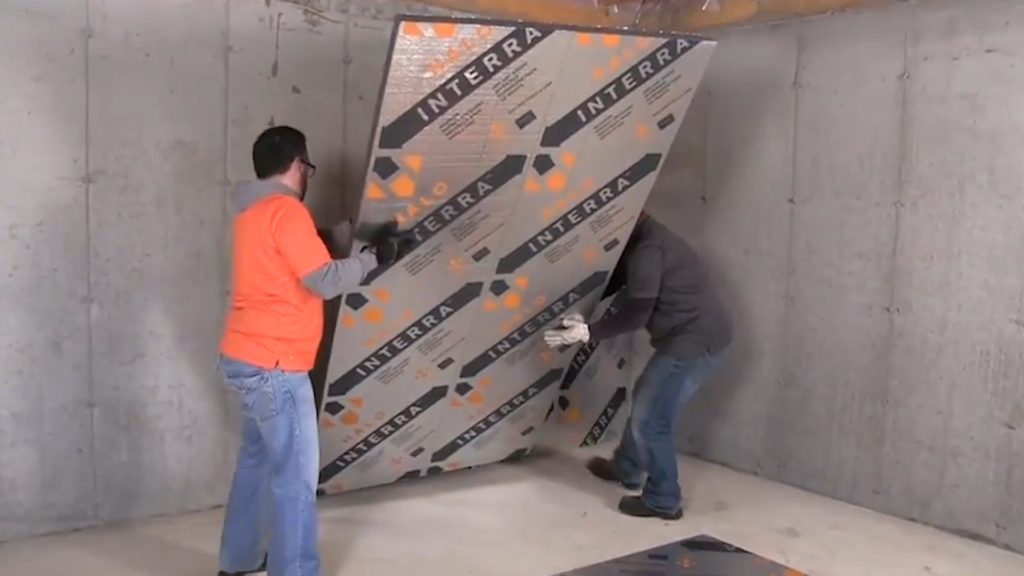
- Apply the Rigid Foam to the Wall.
Finally, simply apply the rigid foam to the wall, starting at the slab and then pushing it back toward the ceiling joists as in the image below.
After the rigid foam has been applied to the wall, apply pressure for 30 seconds.
Then, repeat the process.
Wrapping It Up
As you can see, insulating basement walls with foam board boils down to just four simple steps. It doesn’t require the use of any poly, staples and so on because it qualifies as a vapor barrier. It also offers continuous insulation, greater R-value and won’t lead to mold growth.
However, when it comes to rigid foam, not all are created equal, as you saw above. GPS, the latest advancement in rigid insulation, offers greater R-value, breathability and is less expensive than a product like XPS.
EMAIL US NOW to schedule an in-store meeting, or call us at 855.350.HALO (4256) to learn more about rigid insulation Halo® Interra®.

