Finishing a basement is a stellar way to add resale value, and a rental unit, to your home. It’s also a far less tangled process than you think. This post will show you a handy way to insulate and add subflooring to your existing concrete slab. As always, you should always consult the specific sub-flooring manufacturer and always defer to their particular installation recommendations.
How to Insulate an Existing Slab With Halo Interra
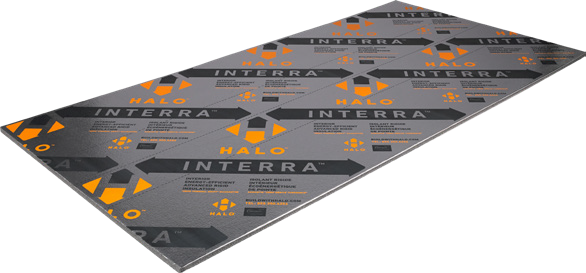
This is a straightforward, tried-and-true technique for adding flooring to your existing concrete slab. In this application, Interra covers the top surface of the slab and needs a separate vapor barrier. Follow these 5 essential steps to insulate your existing slab with Interra:
1 . Prepare the Slab.
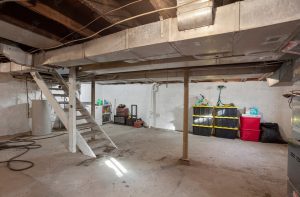
Interra panels must sit flush against the slab. What’s more, the slab surface should be free of any items that can puncture the panels or the vapor barrier. That’s why your first task is to clear the slab of any debris and remove any protrusions that could lead to damage.
2 . Install a Moisture Barrier.
Once the slab is ready, cover its entire surface with an acceptable vapor barrier. Refer to the local code or consult with your building department to pick the right product.
3 . Install Wood Strapping.
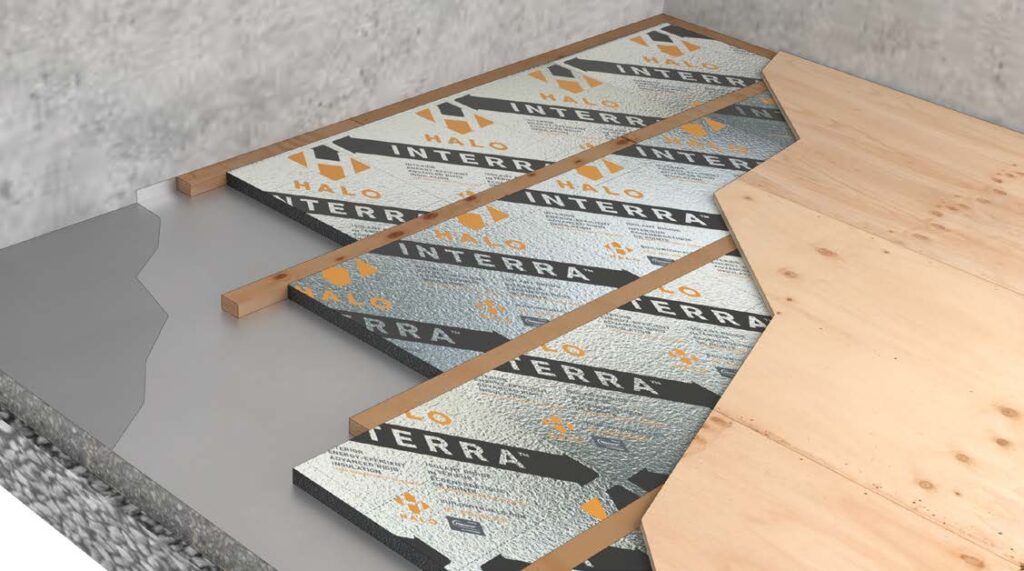
Wood strapping fastens the vapor barrier to the slab and holds the weight of the subflooring. Run 2- or 3-inch strapping along the slab’s perimeter and place strapping boards every 16 or 24 inches over the entire slab area. Use self-tapping concrete screws or nails to attach the wood to the concrete.
Ideally, your strapping thickness should match or somewhat exceed that of the Interra panels. By protruding above the panels, strapping creates the air space needed to reflect heat inside the home and curb heat loss.
4 . Place Interra Panels.
Now, it’s time to install the Interra. The panels should fit tightly between the strapping – keep this in mind when you cut them. If any gaps remain, use spray foam to fill them.
5 . Lay The Subfloor.
When you select your strapping material, keep in mind that the sheets should be thick enough to span the wood strappings with minimal flexing.
Before proceeding with installation, be sure to mark the wood strappings’ locations on the wall; this will show you where to fasten the subfloor sheets later.
Then, staggering the joints, place subfloor sheets with edges on the strapping. Use adhesive, such as PL 400, and screws spaced at 8 inches to fasten the subfloor to the strapping.

Don't miss a thing!
Subscribe for exclusive content, insider industry news and limited edition webcasts.
And that’s it, folks!
Now, there’s a way to improve your new floor’s energy efficiency, and it involves a small tweak to the process we’ve just seen. This innovative method does away with strapping, thermal bridging, and heat loss and lets you leave out the separate vapor barrier.
Matt Risinger, a custom builder from Texas, is about to test this method in the field. Instead of fitting Interra panels between the strapping as we described above, Matt will:
- place a layer of 1.5-inch Halo Interra
- tape the joints between the panels and the perimeter bottom plate to form the vapor barrier
- loose-lay 2 layers of 3/4-inch plywood sheets and fasten them to each other with screws to create the subfloor
As for the sturdiness of those plywood sheets – Matt’s not too concerned. Per his calculations, Interra panels can support the subflooring with no strapping, just as long as the point loads don’t exceed 1,000 pounds.
As you can see, adding flooring to your existing slab is more straightforward than it seems. All you need are these 5 components to pull off this task:
- a vapor barrier,
- wood strapping,
- Interra panels,
- plywood subflooring, and
- fasteners and adhesive
Thanks to Interra’s strength, you can also eliminate the only thermal bridge in your floor – the wood strapping – and keep downward heat flow to a minimum.

