You don’t need expert labor to build a high-performance home. In this post, we’ll show you how a team of students was able to construct an air-tight, energy-efficient home by relying on 2 things:
- attention to detail, and
- the right insulation products
Project Background
Today’s post will focus on a home built by student builders in Kamloops, BC.
The project was part of a 30-year-old program, run by the Canadian Home Builders’ Association Central Interior (CHBACI). The program allows student-builders to construct a home on a discounted lot, using donated supplies, with trade school supervision. The learners get precious hands-on experience; the donors get exposure; and the finished home gets auctioned off, with proceeds supporting the local YMCA. It’s a win-win-win.
Building Background
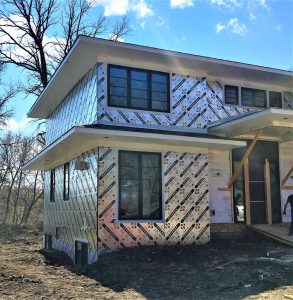
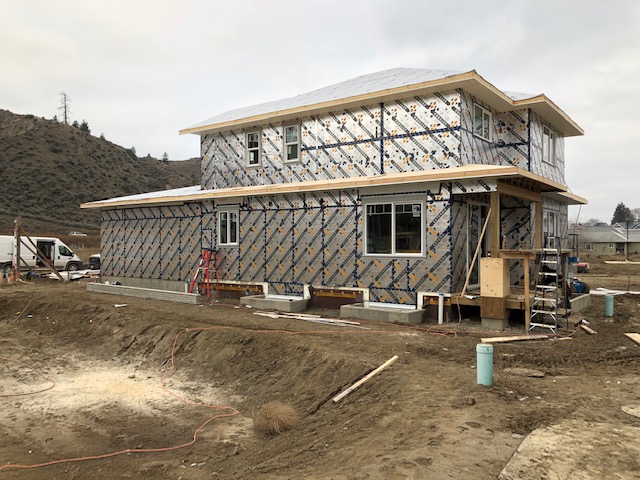
This home features 2 stories, with 2×6 above-grade walls, clad with 1-inch Halo Exterra continuous insulation, and a Logix ICF basement.
With this simple design, the project team managed to achieve a stellar airtightness rating of 1.36 Air Changes per Hour at 50 Pascals (1.36 ACH50). The rating is high enough to hit the “Step 4” level of the rigorous British Columbia Energy Step Code.
Very impressed by the accomplishment, we asked the instructor, Mr. Bryce Coombs, how his students were able to build such a high-performance home.
Here’s what he told us:
“There was no need to reinvent the wheel.”
The team simply paid attention to the nuances, such as:
FLOOR SYSTEM ATTACHMENT
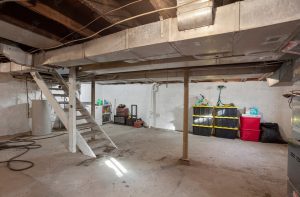
Often, when building with a Logix basement, the floor assembly will bear on top of the concrete wall and support the stud wall above. This configuration requires a significant amount of airtightness sealing and the tiniest of flaws can leave room for air movement.
So instead, the crew built the foundation walls one course of Logix ICF blocks higher and Mr. Coombs attached the floor assembly to the inside of the foundation wall on a vertical plane. The exterior wall’s sill plate sat right on top of the concrete. This simple reduction of moving pieces led to a much simpler taping exercise and left far less room for defects and air movement.
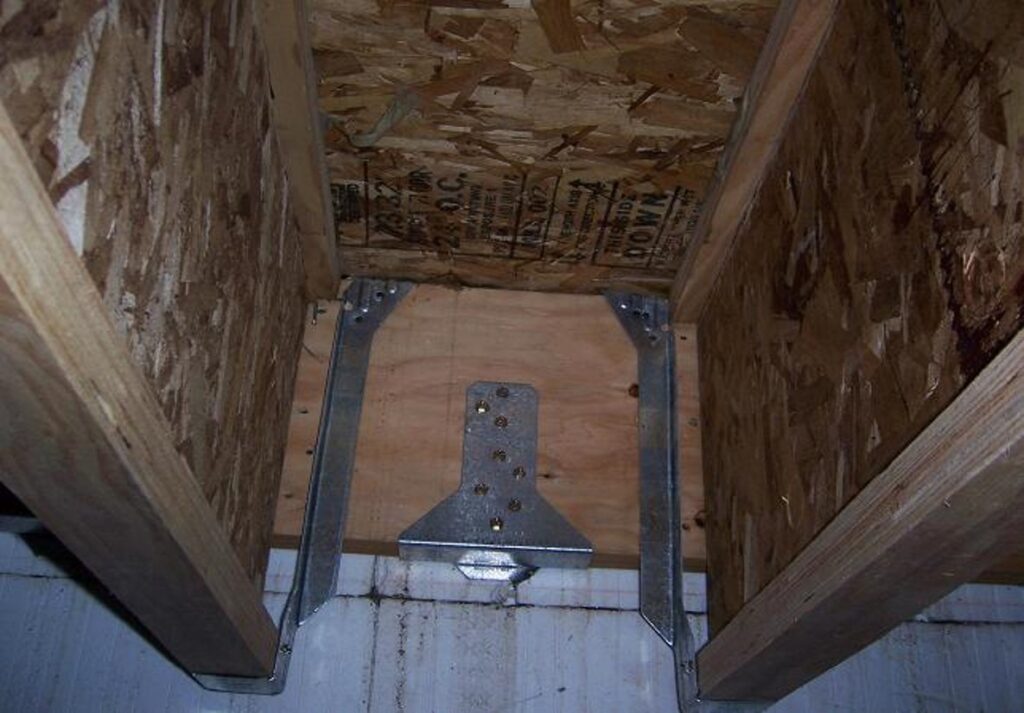
TJI JOISTS VS. DIMENSIONAL LUMBER
Dimensional lumber joists can shrink by up to 1/8 of an inch. This shrinking can cause the member to pull away from any spray foam. To avert this scenario, the project team used TJI-Joists instead.
Don't miss a thing!
Subscribe for exclusive content, insider industry news and limited edition webcasts.
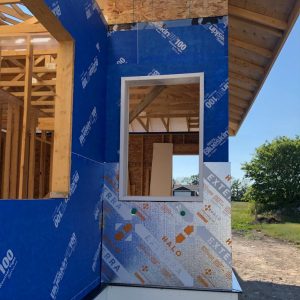
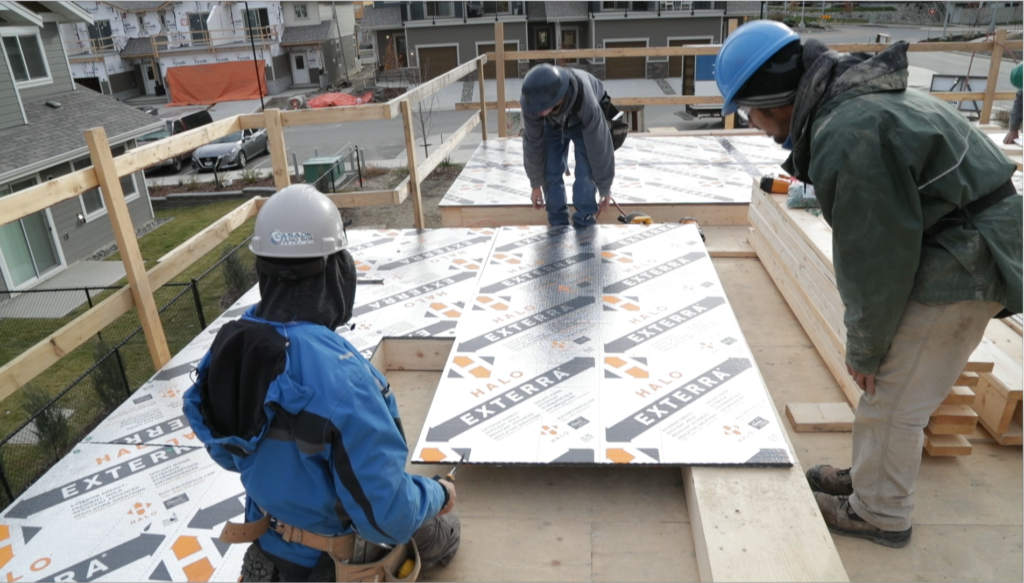
HALO EXTERRA INSTALLED BEFORE THE WALLS WENT UP
Even the most trivial envelope imperfections can compromise a home’s airtightness. That’s why Mr. Coombs and his team didn’t take any chances when nailing the insulation to their frame. By fastening the Halo Exterra boards to the stud wall while it’s lying down, the team produced a tighter connection between the boards and the frame. To enhance the connection, Mr. Coombs used a cap nailer and large washers.
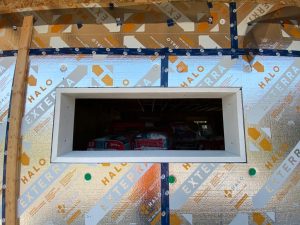
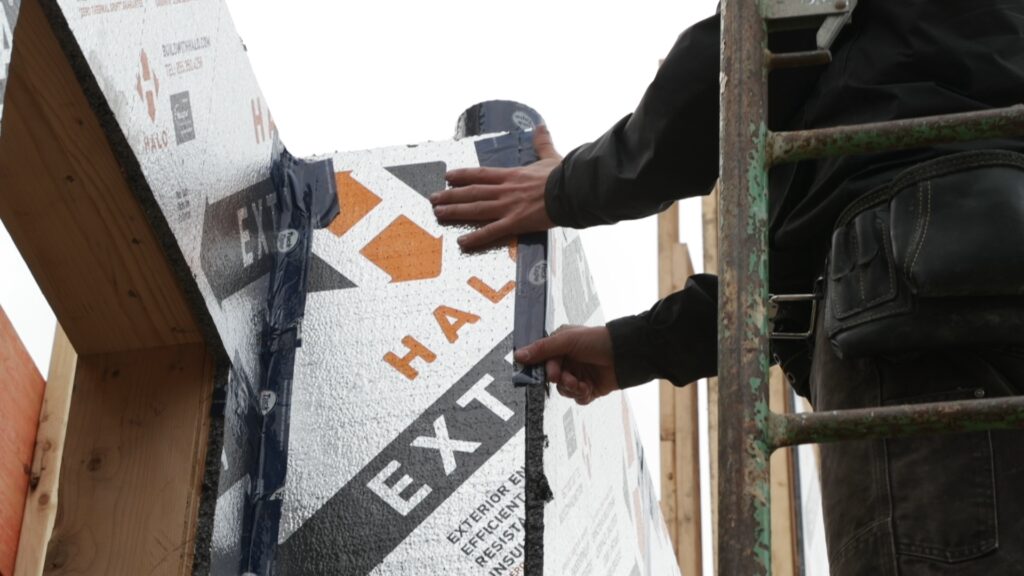
WINDOWS NAILED TO HALO EXTERRA
Envelope openings, such as doors and windows, are notorious for allowing airflow around their frame. The team countered this weakness by nailing the window flanges right to the Halo with 2-inch roof nails and sealing the connection with blue tuck tape.

ROOF
The roof was separated from the home’s conditioned space by R50 blown-in insulation, a poly barrier, and drywall. The team ran Halo Exterra to the very top, where they lapped the poly layer over it and sealed the connection with an acoustic sealant.
FIREPLACE
To facilitate installation, Mr. Coombs and his team sealed all the joints and connections before setting the fireplace insert.
Next Time Will Be Even Better!
In a few parting words, Mr. Coombs shared some ‘lessons learned,’ and his thoughts about building better next time. For even better results, he would have taped the corners right after nailing the walls together.
And because the cedar shims used in window installation appeared to let in air during pressure testing, Mr. Coombs would inset the shims and caulk right over them, leaving the air with absolutely no place to escape around windows.
Wrapping It Up
The Kamloops CHBACI project was an excellent chance for student builders to hone their skills and left us with a valuable lesson. As you can see, by merely paying attention to details and using the right products, even a team of students can build a high-performance home.