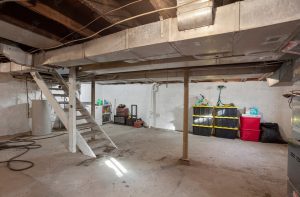
Are you turning your basement into a secondary suite, a home office, or an entertainment room?
If you are, then your job #1 is to insulate the basement’s walls, floors, and possibly even ceilings. By doing so, you’ll turn a cold, damp concrete box into a comfortable space and meet the code requirements for creating a living area. This post will discuss various methods for achieving all this with Halo®’s Interra rigid insulation products.
Using Halo®’s Interra® to Insulate the Slab, Walls, and Ceiling
Halo® Interra® is perfectly designed to excel in a variety of interior applications. Its GREENGUARD-certified Graphite Polystyrene (GPS) core provides long-lasting thermal resistance of R-5 per nominal inch (1.06”) and comes with a reflective laminate on both sides. When taped, the latter acts as a vapor barrier, so you don’t need to install one separately. What’s more, the laminate can reflect heat inside the home, as long as you provide an air space between the panel and the drywall. In most US jurisdictions, Interra Plus can also serve as a code-compliant thermal and ignition barrier, eliminating the need for you to install an additional one in the basement.

Thanks to all these features, Interra is particularly well-suited to insulating basements. Not just the walls, either — it works great on top of that cold concrete slab, and you can also use it to dampen sound transmission between interior partitions and the basement’s ceiling.
Don't miss a thing!
Subscribe for exclusive content, insider industry news and limited edition webcasts.
Insulate Your Slab
You can use Interra to insulate the top of the concrete slab with or without strapping. With either method, make sure that all load-bearing walls rest directly on the concrete and not on the subfloor.

With Strapping
There are 5 simple steps to this method:
Prepare The Slab. Make sure that the slab surface is smooth and free of any protrusions that could penetrate Interra’s laminate.
Install a Moisture Barrier. Determine what an acceptable vapor barrier is based on your local code, and use this material to cover the entire area of the slab. (The Interra laminate can not act as the vapor barrier in this case due to the wood strapping being installed in step #3).
Place Wood Strapping. Run 2- or 3-inch strapping along the perimeter of the room, then place strapping boards 16 or 24 inches apart throughout the entire area of the slab. You can use self-tapping screws to fasten the strapping to the slab.
Lay Down Interra Panels. These should fit tightly between the strapping boards.
Place Subfloor Sheets. The edges of the subfloor sheets should rest on the strapping; you can fasten the sheets to the strapping with screws spaced at 8 inches and an adhesive, such as PL 400.
Without Strapping
This method is just as simple:
Prepare The Slab. Clear the surface of the slab from any protrusions that could puncture Interra’s laminate layer.
Cut Panels To Accommodate Services. You’ll also have to make sure that the existing drains are extended upward so that they’re flush with the finished floor.
Seal Perimeter With Vapor Barrier Tape. The tape should seal the joint between the wall and the slab.
Lay Interra Panels Over Slab. Offset the panels, use tape to seal the joints, and the joint between Interra and the perimeter wall. You can use the same tape to seal any openings you left for services that run along the slab’s surface.
Install the First Layer of Subflooring. Use at least a ¾-inch ply, offset the joints, and leave a ¼- or ½-inch at the perimeter wall. Cut out sections of the plywood as needed to accommodate services.
Install Second Layer of Subflooring. Place the second layer in an opposite orientation to the first, and glue the layers together with a polyurethane adhesive. Finally, fasten the two layers with screws, making sure NOT to puncture the Interra beneath.
See How Matt Risinger Uses Halo® Interra to Insulate His Home's Existing Slab!
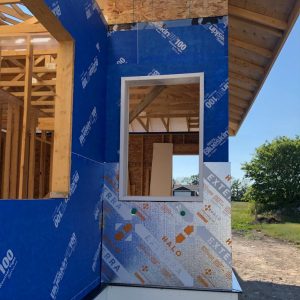
Insulate Your Walls
Your next step will be to insulate the basement’s walls. All it takes is these 5 easy steps:
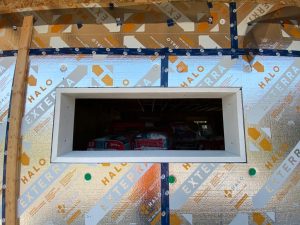
Prepare the Wall Surface. Just like you did with the slab, make sure that the wall is clear of debris or protrusions that could either damage Interra’s laminate or cause the panels not to sit flush on the wall.
Measure and Cut The Interra Panels. You can use a utility knife or a hand saw.
Apply Adhesive to the Walls. Use an adhesive that’s compatible with rigid foam, and apply it liberally to the wall. You should also use adhesive to coat the edges and the corners of the Interra panels.
Install the Interra Boards. Place the Interra boards on the wall, from floor to ceiling, and apply pressure for at least 30 seconds to let them bond to the concrete surface.
Tape the Edges. Seal the boards’ edges with tape to ensure the continuity of the vapor barrier created by Interra.
If you want to take full advantage of Interra’s reflective laminate layer, be sure to add dead air space between the boards and the drywall. This will help Interra’s laminate reflect heat into the home and maximize your energy savings.
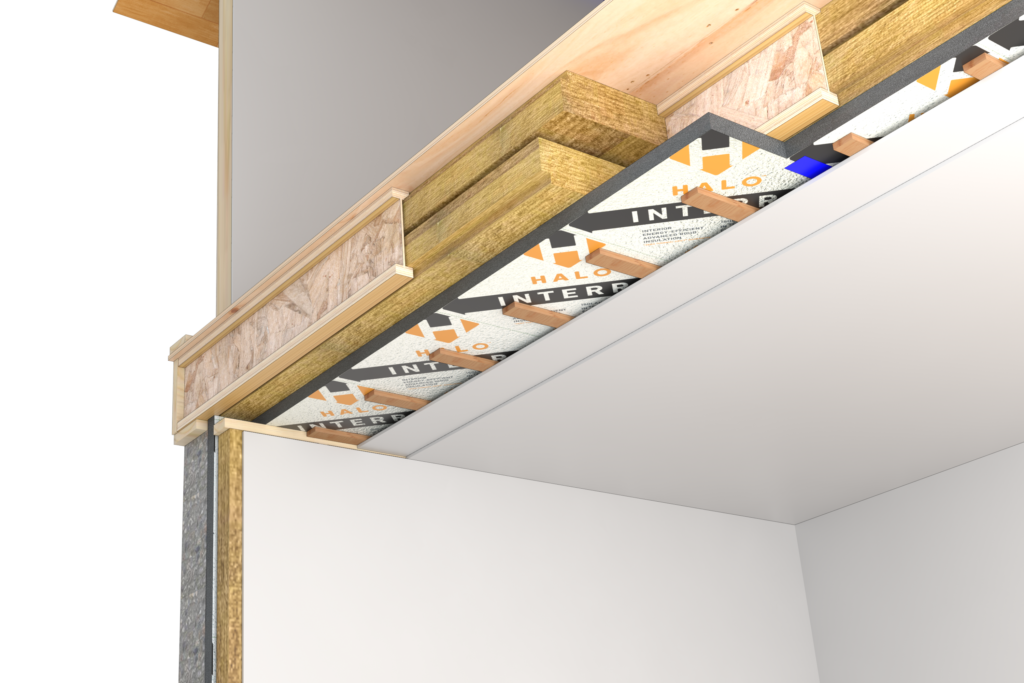
Insulate Your Ceiling and Interior Walls
Whether you’re renting the basement out as a secondary suite or using it as an entertainment room, you don’t want the noise to travel easily through the basement’s walls.
And while heat loss through the basement ceiling or interior partitions may not be a significant concern, insulating these components is a stellar way to curb sound transmission.
To insulate and add sound attenuation to the ceiling and interior walls, simply use the 1-inch Interra and fasten the boards to the studs. Be sure to use a screw that will embed at least ¾-inches into the stud, then seal the penetration with vapor barrier tape.

Wrapping It Up
The first step to turning a basement into a living space is insulating its walls, floors, and ceilings. Halo’s Interra rigid insulation excels at all these applications — it offers a stable, long-term R-Value, acts as a vapor barrier when needed, and reflects heat back inside if you leave an air gap. Best of all, it’s simple to install!